Showing posts with label lighting. Show all posts

Wednesday, February 4, 2009

DIY: Making Mason Jar Lamps

Several people have asked how we created the mason jar candle holders. While I don't have the tools here to do a good step-by-step with pictures, here's what I've got using one of the already made holders.

Tools:
-Empty jars with labels removed
-Sand
-Tealights
-Wire (I *think* the wire we used was mostly 20 gage...we found two different spools of wire in my parent's garage, so we used that.)
-Wire cutters or planting sheers (something that will cut through the wire you have).
-Needlenose pliers

1. Wrap the wire around the jar, under the lip, leaving about an inch of slack in the wire and cut.
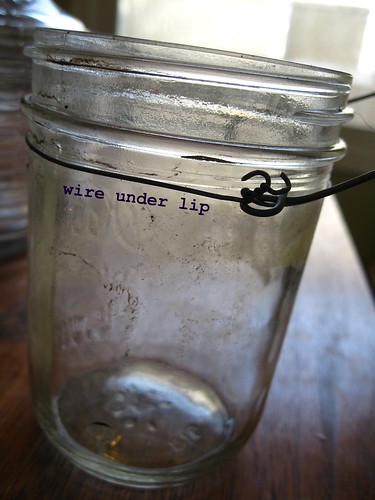
2. Twist the wire together to close the loop, but still make sure that the wire is a bit slack.

3. Cut another length of wire to use as the "hanger." Mine were all around a foot long, maybe a bit longer. We did different lengths so they'd hang at different levels. Bend the wire into a big "u" shape.

4. Twist the ends of the hanger wire so that they form a "u" facing out. The pictures show the ends closed already. I felt like having the hooks face out made them more securely attached to the lip wire, but maybe I was being crazy.

4. Hook the hanger wire onto the wire around the lip of the jar (this can be slightly tricky if you don't leave enough slack in the wire around the jar).

5. Tighten the lip wire by twisting it more with the pliers until it feels securely on there.
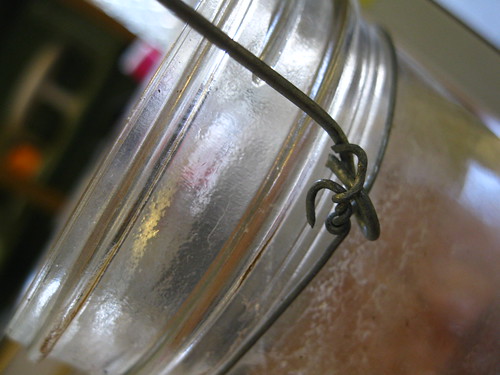
6. Close the hooks on the hanger wire with the pliers (the pictures show this step already done).

7. Fill with about an inch of sand and stick in a candle!

Let me know what questions you have. We used one of the long lighters to light everything so we could put the candles in ahead of time, but if you don't want to buy one of those you could just stick the candles in as you light them at the wedding.

Tuesday, February 3, 2009

Q&A: How do you light a backyard?

The variety of ways we lit the yard are some of my more favorite design elements from our wedding. It's kind of scary to think about lighting a large yard, but it ended up being fairly easy and cheap.

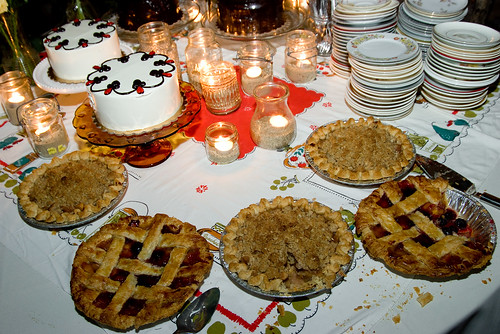
Because we were trying to conserve power for the DJ equipment, we knew we couldn't go overboard with electric lights. So we started with candles. Each dinner table had three candles in jars or other assorted vintage glassware. The dessert table was filled up with candles as well.


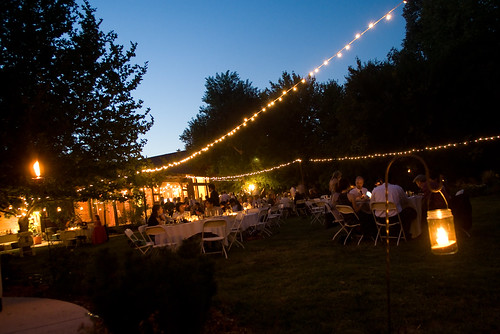
Since we were trying to keep people from wandering off into the depths of my parent's yard we created a border around the lawn by hanging candles in mason jars from sheperd's hooks. The mason jars were acquired off of Freecycle, but they were basically used peanut butter and pasta sauce jars. And we found shepherd's hooks at JoAnns Fabric for really cheap last summer (they were something like 75% off). We're going to use both the hooks and the candle jars in our yard this summer.
Since we figured most people would be on or near the dancefloor by the time it was really dark, that was lit a few ways. First, we had torches around the edge of the pool & seating area. In a big tree that overhangs the dance floor we hung up more of the mason jars with candles in them.
My parents already had lights strung up around their patio and around the hot tub deck/DJ area so we turned those on as well. And of course we had the floating candles in the pool and the fire pit, which I'm still on a quest for a picture of!

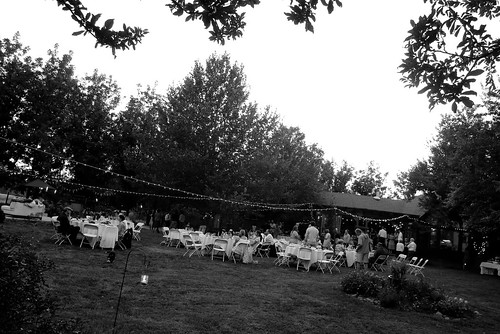
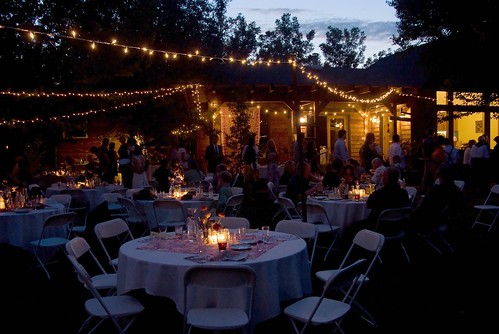
For the main part of the yard, we rented white lights. We were originally going to buy lights, but renting long strands cost us around $2/strand, which was cheaper than anywhere we could purchase them.

My cousin and P. dug small holes in the lawn and stuck posts in the ground. I've seen people use buckets with sand or some other thing to weight down the posts, but digging holes seemed more secure. He attached the lights to the poles and the house and that was it! I think we rented four strands for the yard. Each strand was attached in three places (two posts and the house).

This last picture really seems to show most of the different lighting elements we used. Nothing was glaringly bright, but it had a nice glow to it.